For this week i did research on some designs and ideas.
Tuesday, 6 May 2014
Tuesday, 29 April 2014
Assessment 4 Submission
for assessment 4 we had to develop a 3D model consisting of at least 2 separate parts. for example Nut and bolt or a mechanism even some sort of gig-saw puzzle. for this i have created little mechanism that lock to each other and as u turn one they will all turn and rotate. It as 21 individual mechanism that slide into columns that hold them and as u turn one the rest will turn. Below is my submission for assessment 4.
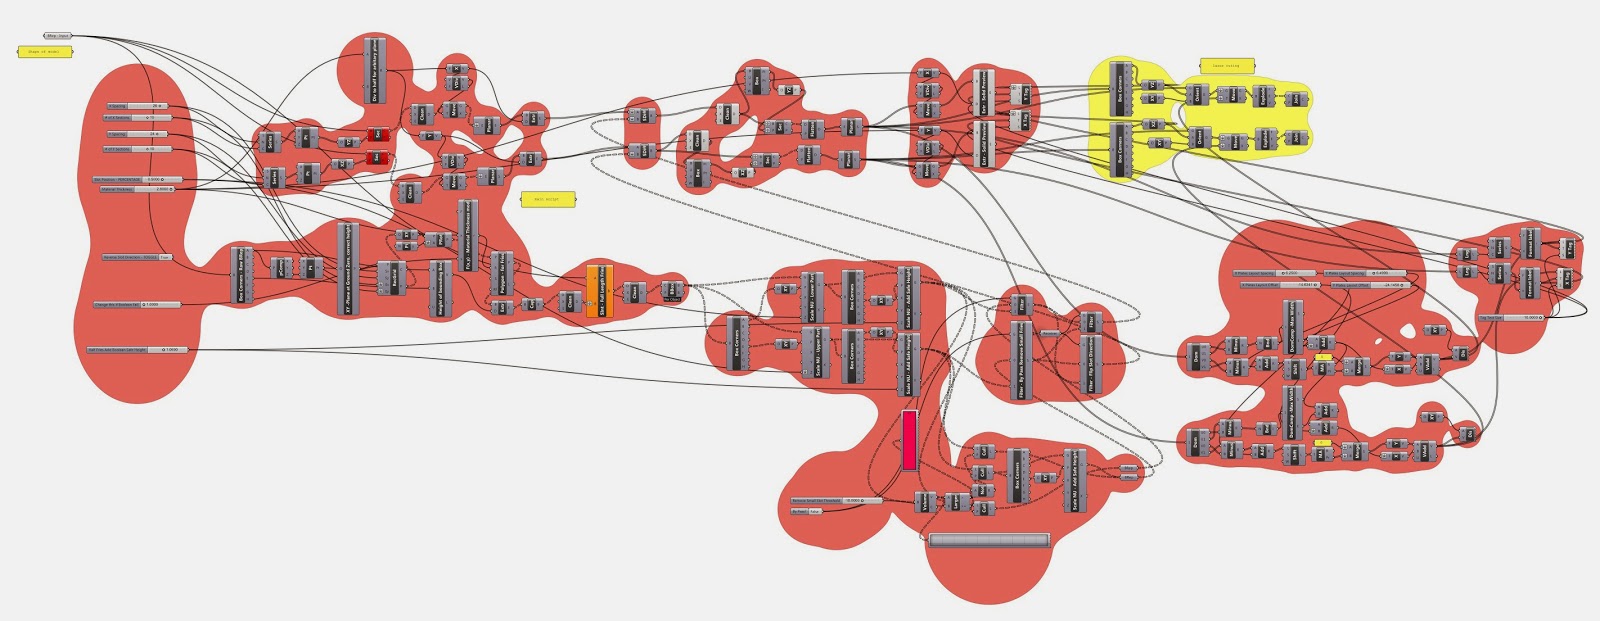
image of my script
this image is showing the 2 parts
4 views of my 3D model
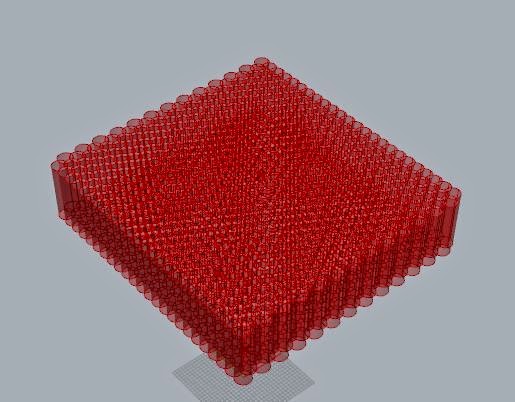
base plate with columns and the 21 mechanism
the 3D model working as one
GH file click HERE
Rhino file click HERE
In conclusion this assessment was quiet interesting as it helped me understand more about GH and rhino and was fun to see how it will work once the 2 parts come together i will be using my knowledge in my further assessments.
Assessment 3 Submission
For Assessment 3 we had to create a 3D geometry and then we had to either waffle of section it. it will be created in the laser cutter and then put together. I created a 3D geometry and i chose to waffle as it would look better. This was quiet tricky as i have little knowledge in grasshopper and waffling but after watching a few tutorials i created a script that worked and i created the shape in Rhino and Grasshopper.
Below is my Submission for assessment 3
image of my laser cutting for the waffle
image of my whole script
3D image of my model
another 3D view
3D view with the preview of
top 3D view with preview off
In conclusion this was quiet a different assessment as waffling was not a easy step for me but i am happy with the outcome i have come up with as it helped me understand the commands of grasshopper and rhino. below are my GH file along with the rhino file.
GH file Click HERE
Rhino file Click HERE
Tuesday, 22 April 2014
week 8
For this week i was looking at some Tutorials to help me with my understanding in GH and Rhino
Tuesday, 15 April 2014
Tuesday, 8 April 2014
Assessment 2 submission
For our assessment 2 we had to create a tessellation like wall with an attractor that will move the tessellation all at the same time, this was to be done using grasshopper and rhino and then later it would be 3D printed. At the start of this Assessment it was tricky for me as i haven't had the experience using grasshopper before.
After watching a few tutorials on line and trying to understand how the commends work, i then devolved a script that will work, below are the screenshots and model in Grasshopper and Rhino for Assessment 2.
this image is of my script in Grasshopper
this image shows the commends i used for my attractor by using the X,Y,Z arc
this image is the commend of the base plate of the model
the four views of my model
this here is the 3D image of the model.
In conclusion i am very pleased with the results i have archived with my knowledge now with Grasshopper and with using grasshopper it is a very efficient way of design and i will incorporate what i understand in my coming projects.
GH click HERE
Tuesday, 1 April 2014
week 5
for this week i chose one of my models i have created in Grasshopper the model i have chosen is below.
i then had to add an attractor to my model to make things move and change form by moving in the X,Y,Z axes i did this by adding points and just moving them around below are some images of moving the points around.
i also used some Tutorials below are the you tube links.
Subscribe to:
Posts (Atom)


.jpg)